Thumbnail Sketches and the Jigsaw
Observing our subject and doing a thumbnail sketch.
Every week is a surprise when you’re a sketcher.
Particularly when dealing with lockdown or restrictions. But somehow we manage to get some time to put a few lines on paper and enjoy it without a thought in the world for what’s going on. Golly we need that.
This week I thought we should go back to some basic steps which are the beginning of our sketches.
Some of this is particularly valuable if you cannot get to classes and need to refer to photographs or online images.
Ideally of course we like to sketch as a group and enjoy the company, but we cannot have that luxury at times.
No matter what our subject, we do a thumbnail on the other page to work out whether we’ll go portrait or landscape in our books, and to see where everything will fit - (before you launch in and find half of it won’t fit in😩)
We’re deconstructing actually. Breaking what we see into simple shapes. Is it tall. Is it round. What does it look like to you?
It also means you really do some serious looking at what are the big shapes before you begin your main sketch. Work out that first big shape, be it a hibiscus, part of a house, a landscape or whatever.
That’s the first piece of the jigsaw. (You’ll hear us talk about the jigsaw.) We look for the pieces which fit around your main shape. Before long you have a sketch that makes sense. Surprise surprise.
So let’s take a look at what happened this week.
P.S. I’ve also included some helpful examples below if you’re having to work from home.
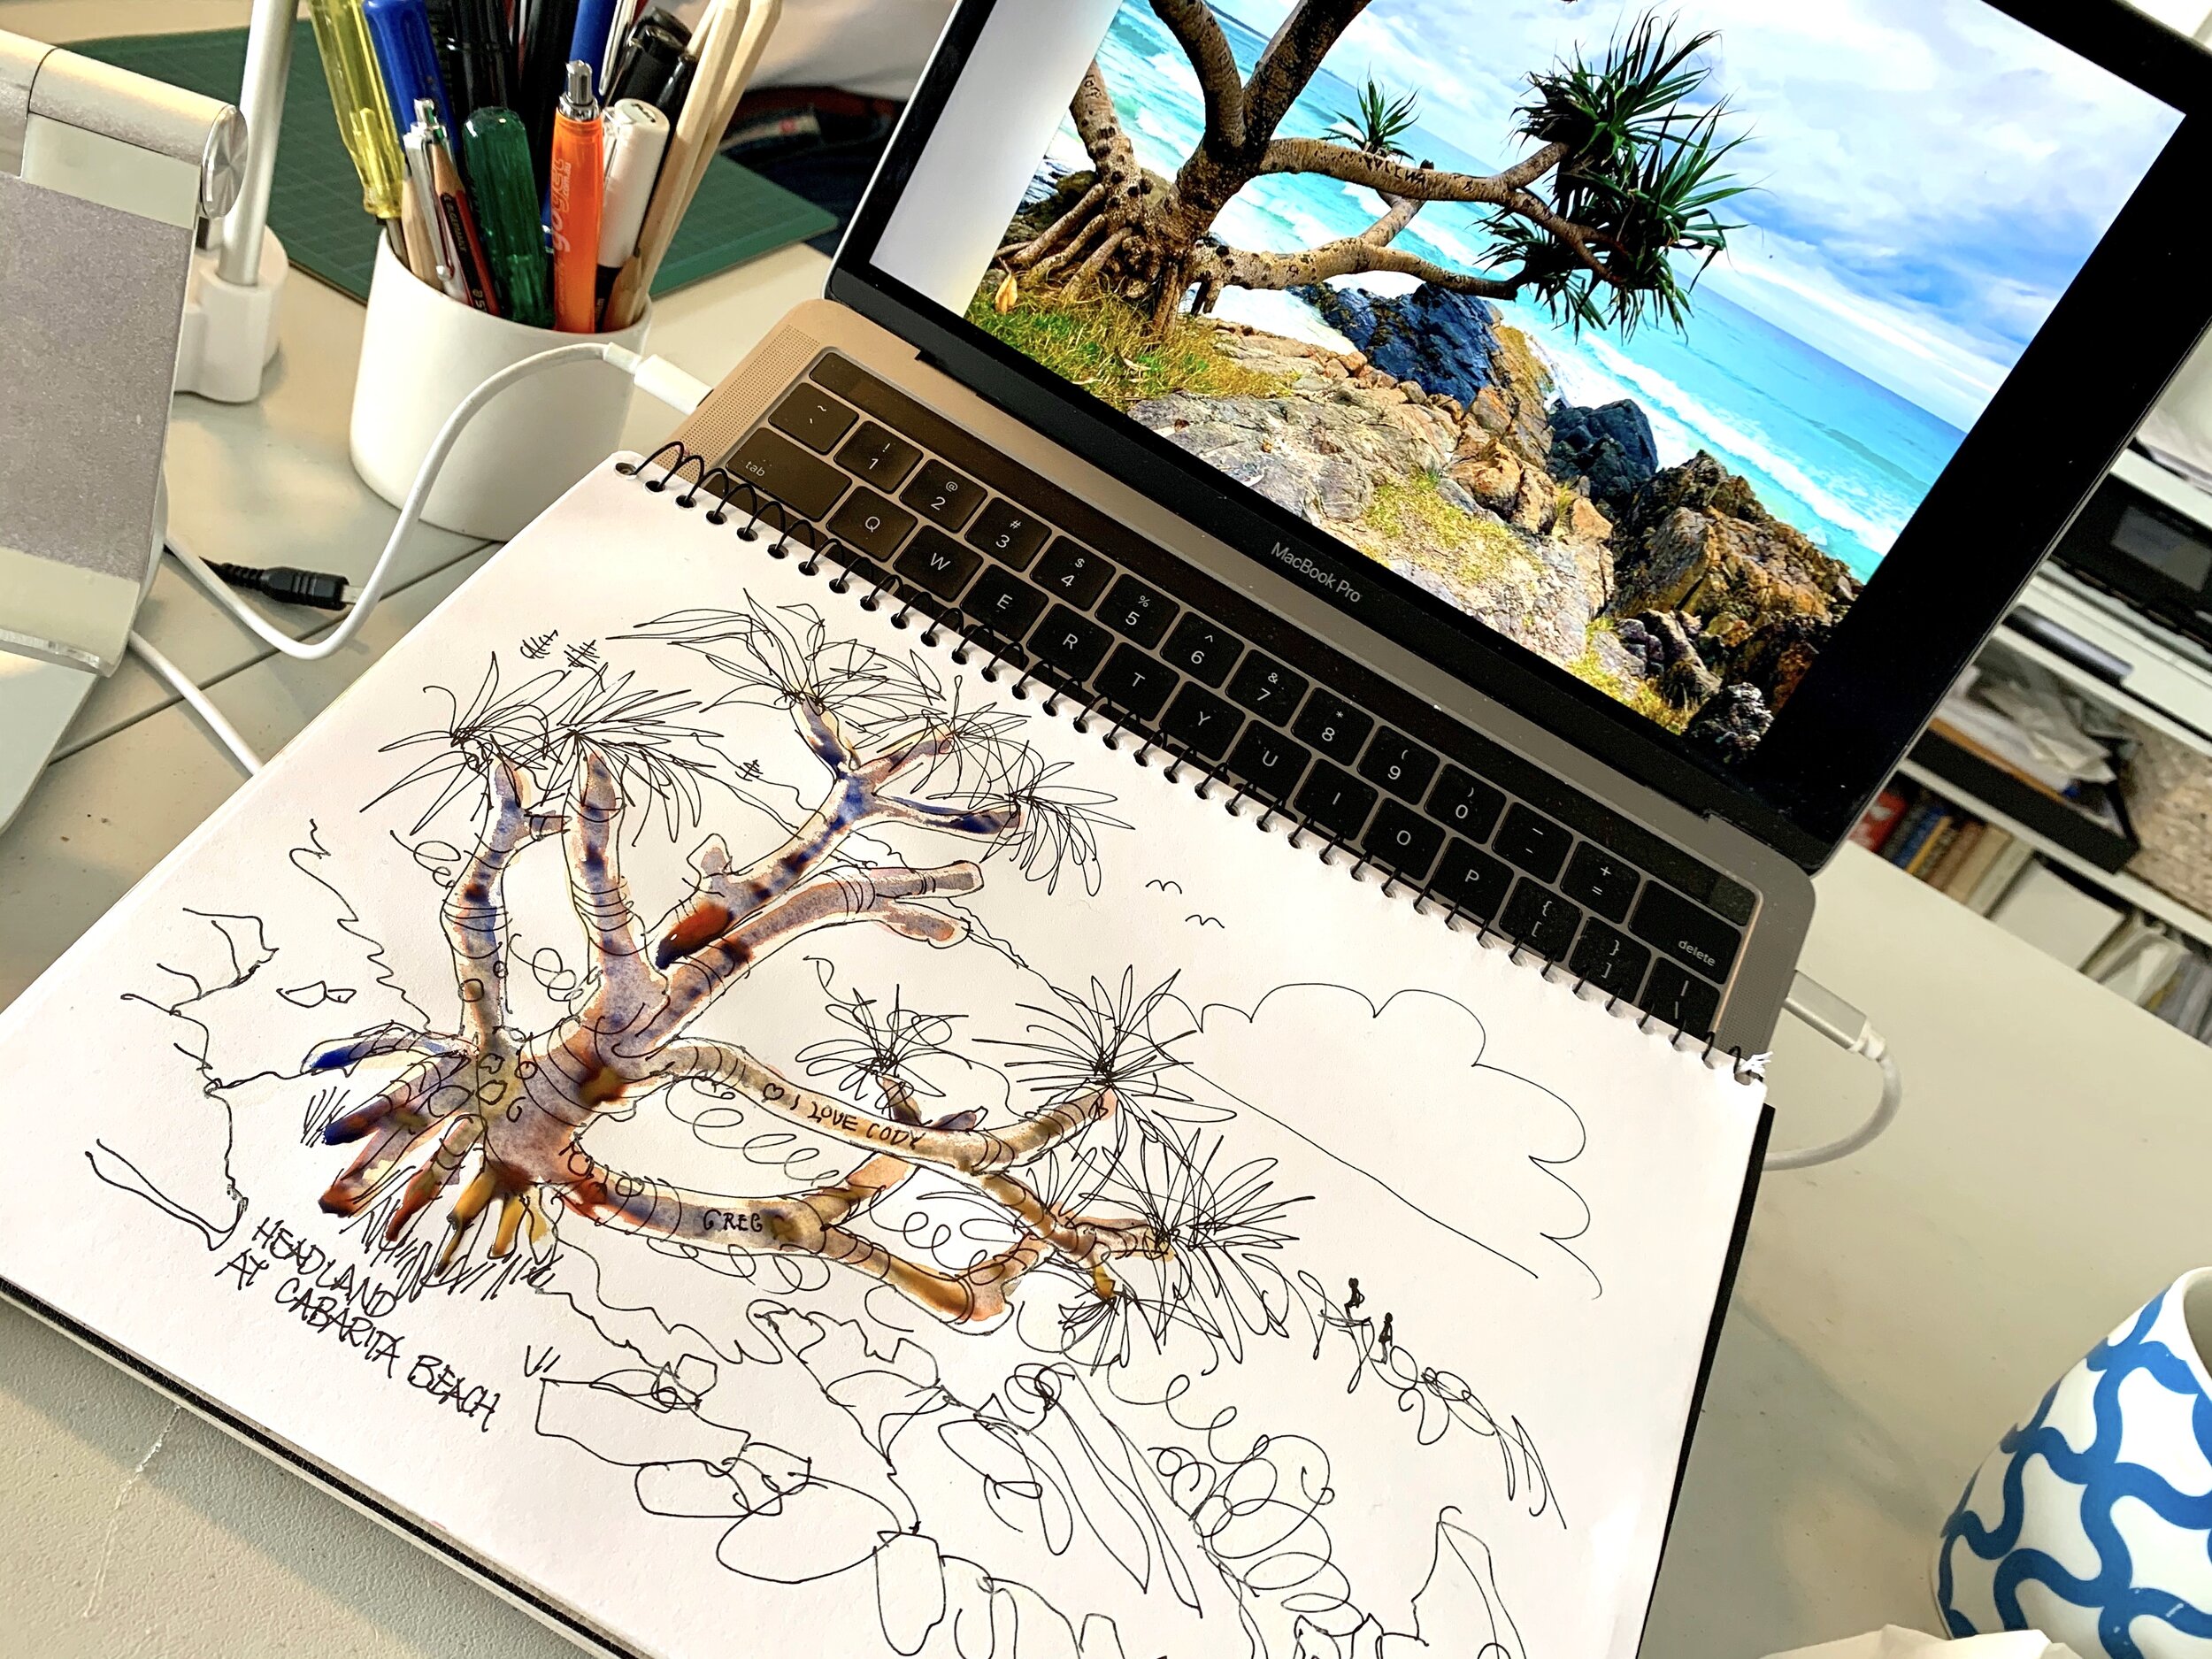
Sketching from a photograph.
Working virtually on your screen.
Sketching outside ( if you can)
All start with a thumbnail sketch.
SURFERS PARADISE Q’LAND
Bumbles Cafe, Budds Beach. July 6th 2021
Trees in two mediums.
BANGALOW NSW
The Studio at Parrot Tree Place. Wednesday July 7th 2021.
Adding titles and words to your sketches.
MOSMAN SYDNEY
’Keep Calm and Sketch’ Zoom sessions with Kirsten Saturday July10th 2021.
Looking at 1 and 2 point perspective.
(Until classes can meet together again)
SKETCHING ON LOCATION.
Step by step beginning with a thumbnail plan. Forbes NSW.
SKETCHING FROM A PHOTO.
Choose a photo, create your thumbnail, then your main sketch with additions, lastly apply watercolour.
Try not to copy it exactly, but rather to create interesting shapes and embellish where you want.
VIRTUAL SKETCHING ON YOUR SCREEN.
Maybe you have a fave pic from your travels. Enlarge on your screen and do your thumbnails. Be loose and simplify if you want.
Now you’re ready for your main sketch keeping it free.
Follow with your watercolours starting with washes of yellow ochre, cad red and ultramarine, one colour over another on trees and rocks. Two greens for trees and grass. Cerulean for the sea. Cobalt for the sky. Touches of cad red on the rocks and purple lake on the distant hills, and out to sea.
Try one of your own and post on Erin Hill Sketchers Facebook. Can’t wait to see you share.
That’s it for this week. Who knows what next week will bring! See you soon.


